
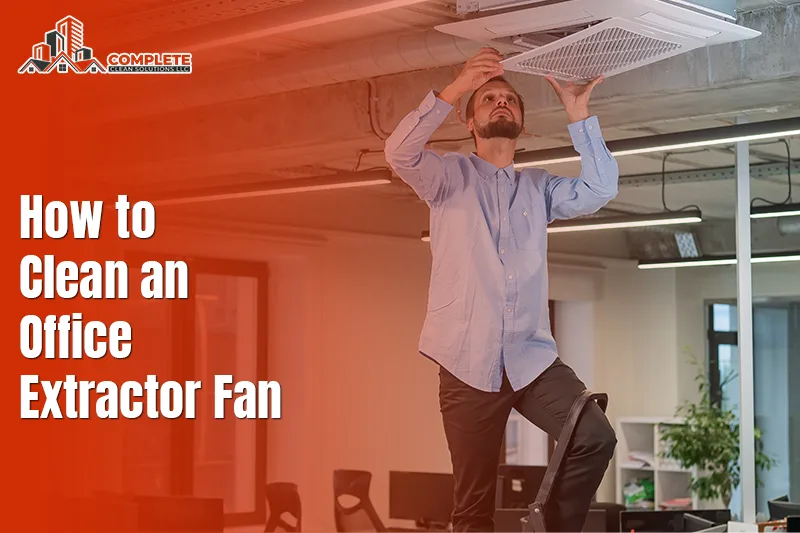
Keep Your Office Air Clean and Fresh
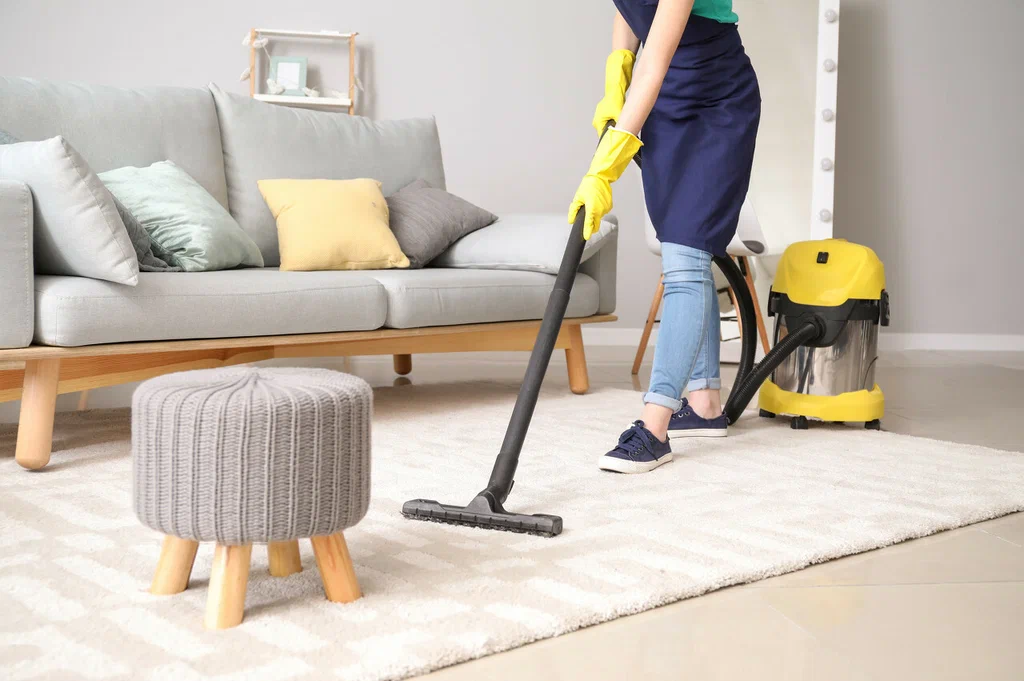
Dirty extractor fans restrict airflow and lower indoor air quality. Layers of dust and debris collect when cleaning is delayed. This buildup produces stale odors across rooms. Workers feel tired, the air feels heavy, and office spaces seem damp. That is why learning how to clean an office extractor fan is important for every workplace.
When extractor fans stay dirty, the problem grows with time. More dust sticks inside, airflow reduces further, and the motor strains harder. Staff complain of headaches or low comfort, and the work pace drops. The fan stops serving its main purpose of fresh air exchange. Regular cleaning prevents this downward cycle and protects office health.
This guide gives you a clear sequential method to follow. Each section shares essential tools and proven techniques. You will also see the most common errors people make and how they relate to the dirtiest places in your home. You will understand ways to avoid them. Simple preventive steps keep the fan running longer. By the end, you will know the safe and reliable way to clean an extractor fan without damage.
Why Clean Your Office Extractor Fan?
Pros of Daily Fan Maintenance
Better air circulation supports a healthy office setting. When dust blocks airflow, staff feel dull and drained. Clear air lifts mood, supports focus, and keeps energy steady. With strong circulation, spaces stay balanced, free of odors, and more welcoming.
Dust and allergens gather inside blades and vents over time. Once the fan turns, these particles spread around the rooms. Workers with asthma or allergies notice irritation quickly. Removing buildup lowers triggers and reduces health risks. Clean fans make the office safer and more pleasant daily.
A well-maintained fan boosts HVAC efficiency. When vents stay clean, air moves freely without strain. Blocked fans force systems to work harder and consume more energy. Regular office fan maintenance lowers power bills and reduces stress on motors. Adding routine HVAC fan cleaning ensures the entire system works with peak balance. This simple step saves both energy and costs in the long run.
Routine care prolongs the extractor fan’s lifespan. Dirt causes vibration, wear, and unnecessary motor stress. Bearings dry out faster, and blades bend when dust piles up. Cleaning ensures steady movement and prevents early damage. With consistent checks, your fan remains strong and useful for many years.
Tools and Materials Needed
Get Ready Before You Start
Tools
- A screwdriver is the first tool you will need. It allows you to remove the grill with control and prevents damage.
- A vacuum with a brush attachment helps pull away hidden dust.
- A soft brush is useful for narrow gaps where vacuums cannot reach.
Each tool has a specific role that makes cleaning faster.
Materials
- Mild detergent is required for washing removable parts. Mix warm water to form a gentle cleaning solution.
- Microfiber cloths are important because they wipe dirt without leaving streaks. They also protect fan surfaces from scratches.
- A sturdy bucket is needed to hold your cleaning solution. It keeps the detergent mix steady and reduces spills during work.
These materials support an effective and reliable cleaning process.
Supplies
- Protective gloves give safety to your hands while working. They shield your skin from both detergent and sharp fan edges.
- A dust mask is another optional supply. It protects you from inhaling dust when cleaning blades and vents.
These supplies are simple but add comfort and security to the process.
Gathering all equipment in advance ensures smoother cleaning. With preparation complete, each step will be easier to follow. Once ready, you can apply proven extractor fan cleaning tips to achieve steady results.
Sequential Cleaning Guide
Sequential Cleaning Guide
Clean Your Extractor Fan Like a Pro
Step 1: Turn Off Power
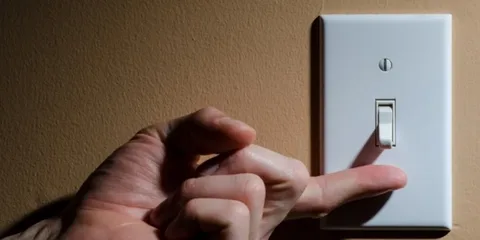
Begin by making safety your first focus. Find the breaker switch and shut it off. No work should start while electricity flows. A live current can shock and cause injury. Always confirm with a tester before moving forward. Taking this step ensures a secure start and a safe task.
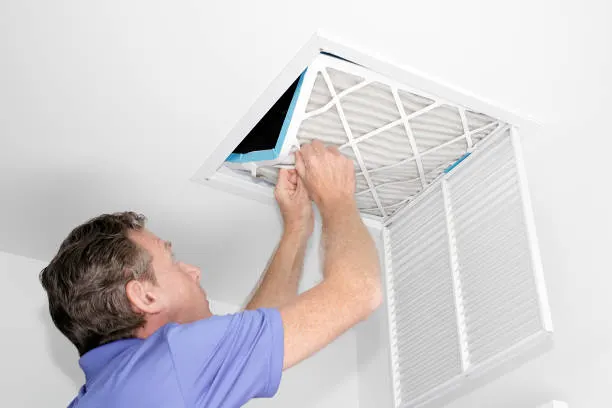
Step 2: Remove Fan Cover
Use a screwdriver and slowly rotate the grill. Keep each screw inside a safe container so none gets lost. Lift the cover and rest it on a soft cloth surface. This stops scratches or bending of the parts. Handle the grill with steady care to make reassembly simple later.
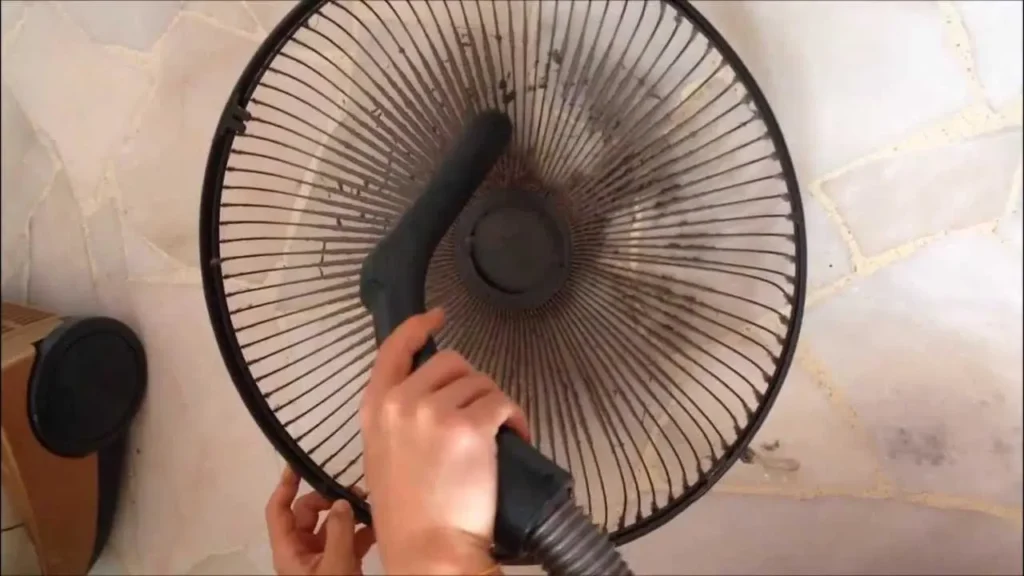
Step 3: Vacuum Loose Dust
Connect a brush tool to your vacuum before cleaning. Move it slowly across vents and the inside housing. Work slowly so you do not stir dust into the air. Use a soft brush to loosen hard bits where needed. Clearing loose debris here prepares for deeper cleaning steps.
Step 4: Wash the Cover
Fill a bucket with warm water and mild detergent to mix. Dip a microfiber cloth and clean all sides of the cover. If dirt remains thick, soak the cover for several minutes first. Scrub slowly with a steady motion to protect the surface. Rinse with fresh water until it looks clear. Make sure it is free of soap. A dry cover avoids mold.
Step 5: Clean Fan Blades
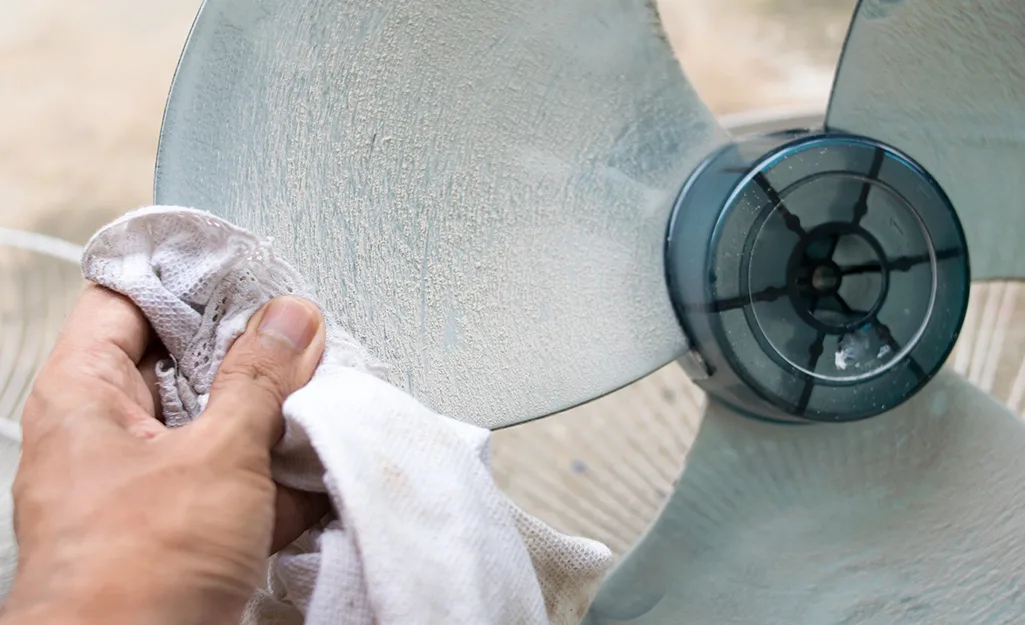
Take a cloth wet with your cleaning mix. Wipe each blade from base to tip with light pressure. Avoid bending the blades since straight edges keep the air smooth. Move carefully until every surface shows no dust. A gentle method keeps blades firm and motor strain low. Repeat as needed until the blades look fresh.
Step 6: Check Motor Housing
Use a dry brush first to loosen dust near the motor. Collect the loosened particles carefully with a vacuum nozzle. Do not allow water near this section because moisture harms wiring. Once the dust is gone, inspect vents to see if air passes clear. Clean vents help steady airflow.
Step 7: Reassemble and Test
Set the grill back in place and align the screw holes carefully. Insert each screw and tighten them evenly with steady pressure. Restore power at the breaker once the grill feels secure. Turn the fan on and watch the airflow move freely. Listen for a smooth sound that shows the blades run without stress. These checks confirm a clean commercial fan that is ready for regular use.
Preventive Maintenance Tips
Keep Your Fan Working Longer
Step 1: Clean Regularly
Plan a cleaning session once a month. In case of a hectic schedule, you must plan it once every three months. The choice depends on daily office use. Dust collects faster in crowded spaces with many people working. A clear fan keeps steady airflow and stops dust buildup. It also lowers strain on the motor. Regular cleaning makes the fan efficient. The office air stays fresh and balanced.
Step 2: Check for Loose Screws
Check the screws holding the cover during inspection. Also, check the screws fixing the blades. Loose screws often cause small noise before greater issues appear. Loose screws cause rattling and can shake the unit. If ignored, this vibration may crack plastic parts. It can also damage the motor housing. Tightening screws protects the fan from harm. The system stays stable.
Step 3: Avoid Moisture Contact
Moisture is a major threat to fan safety. Keep water away from the motor. Even a drop can enter wiring and trigger a short. Sparks may spread quickly and harm other parts nearby. This can cause a breakdown. When cleaning, limit water use to covers and blades. Dry every part fully before putting it back. This rule protects both safety and performance.
Step 4: Lubricate Bearings if Needed
Some extractor fans use bearings that need oil. Check the maker’s manual before applying oil. Some models have sealed parts and do not need service. A small drop at the right point keeps the rotation smooth. The fan stays quiet and stress-free. Too much oil attracts dust and causes clogging. Balanced care makes moving parts last longer.
These preventive steps extend the fan’s life. They also reduce future issues. Regular checks and careful cleaning keep problems away. Mindful handling makes DIY extractor fan cleaning affordable.
Common Mistakes to Avoid
Don’t Damage Your Fan
Using strong chemicals seems fast, but it harms the fan surfaces. Harsh cleaners strip paint, weaken metal, and leave marks. Over time, small cracks can also appear and weaken the structure. Damage grows when used often, and rust begins to form. Choose a mild detergent with water to keep parts safe. Gentle solutions clean dust and grease without risk. Safe cleaners protect the fan for steady use.
Do not allow water near the motor or wiring. Moisture slips into hidden parts, and sparks start fast. Even small drops cause shorts and spread damage across units. Hidden rust can also build when damp areas stay wet. Repair bills grow high when water is left inside. Use damp cloths only for blades and grills. Dry each part before attaching it back to the system.
Always switch the power off before working on the fan. Touching live wires exposes you to shock and burns. Many people forget this step when they follow cleaning jobs. A small delay here saves serious harm and damage later. Skipping it risks both safety and equipment failure at once. Make it the first action every time you start work. A safe start avoids dangerous mistakes later, just as when you clean allergens in your bedroom and begin with proper safety steps first.
Skipping regular care shortens lifespan and lowers fan strength. Dust piles increase strain, and parts fail earlier than planned. Bearings dry faster, and blades bend when clogged by dirt. Extra heat also builds up inside the motor when airflow is blocked. Cleaning on schedule avoids these issues and saves repair costs. Consistent care ensures steady airflow without noise or stress. A habit of cleaning supports smooth office air ventilation cleaning results.
Conclusion
Maintain Clean Air and Smooth Operation
Self-protection must come first, and always turn off the power before work. This step removes danger and ensures you start safe. Without this action, the chance of shock is high. A moment of caution at the start avoids serious injury later. For trusted cleaning and maintenance support, CCS Complete Clean follows the same safety-first approach to keep your space spotless and secure.
Disassemble the grill slowly with steady tools. Collect the screws in one place and set the cover aside. Careful removal protects parts and makes later steps convenient. Taking time here saves you trouble during reassembly.
Clean blades and vents with care using mild detergent and a cloth. Wipe gently until dust clears and surfaces shine. A steady pace helps prevent scratches and keeps blades strong. Proper cleaning restores airflow and removes buildup.
Collect each part carefully to test airflow. Place the grill back and tighten the screws firmly. Switch on the power and check that the air moves with ease. A quick test run confirms the job was done correctly.
Maintain regular checks after cleaning to extend fan life. Dust grows fast in busy offices, so stay consistent. Routine effort avoids future issues and supports lasting airflow. This habit keeps both workers and equipment safe.
For easy upkeep, follow expert guides on how to clean an office extractor fan. Schedule regular extractor fan cleaning or contact our professional team for hassle-free office air maintenance. Choosing skilled help ensures reliable service and peace of mind.
FAQs
Extractor Fan Cleaning Questions Answered
No, never clean while it runs. Always turn off the power first. This prevents shock and accidents. Waiting until blades stop ensures a safe working space.
Clean every three months for normal use. Heavy dust zones need monthly cleaning. It depends on the office air quality. Regular schedules keep airflow steady and equipment safe.
No, pressure washers force water into parts. They ruin motors and wiring. Stick to cloth and detergent. Using soft methods keeps the fan in good working order.
Yes, experts know how to clean an office extractor fan safely. They use tested methods, saving you time and risk. Skilled cleaners also check for damage during service.